How to Use Robocopy – Explore Robocopy Switches and Examples
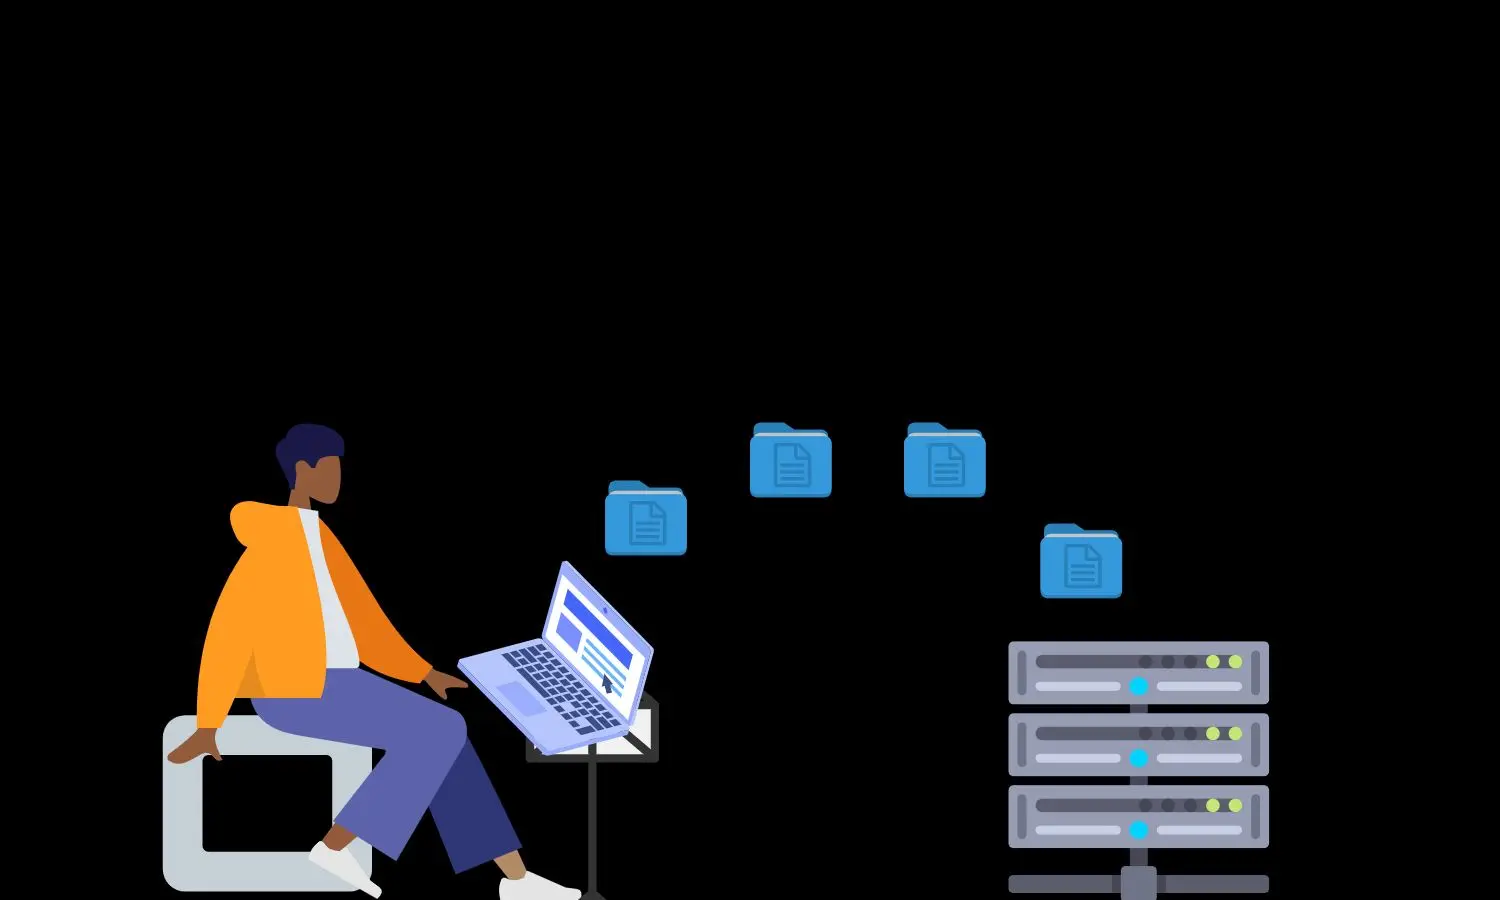
Welcome to the definitive guide on “How to Use Robocopy: Explore Robocopy Switches and Examples”. Whether you’re a seasoned IT professional or just starting to explore the depths of Windows’ powerful tools, this guide is tailored for you. Robocopy is a powerful command line utility in the Windows operating system, famed for its efficiency and versatility in handling file transfers. Get ready to dive into the world of Robocopy, where we demystify its complexities and harness its full potential to make your data-handling tasks smoother and more efficient.
What is Robocopy? Understanding the Basics
Robocopy stands for Robust File Copy and is much more than your average file copying command. It’s an integral part of the Windows operating system, expertly designed to manage large amounts of data. One of its key strengths is its ability to handle network interruptions and complex file permission scenarios smoothly.
You can also specify particular files if needed, and add various options to customize the copying process to fit your specific needs. Understanding this basic structure is the first step in leveraging the full potential of Robocopy for efficient and effective file management.
How to Use Robocopy – Getting Started with Basic Commands
Embarking on your journey with Robocopy is remarkably simple, yet incredibly powerful. The essence of using Robocopy lies in defining two key elements: the source and destination – where your files are currently located and where you want them to be copied. Beyond these basics, you have the flexibility to specify particular files and apply a range of options for greater control over the copying process.
The Basic Structure of Robocopy Command
At its most fundamental level, a Robocopy command looks like this:
robocopy <source> <destination> [<file>[ ...]] [<options>]
- <source>: This is the path to the directory where your files currently reside. It can be a local path on your computer or a path on a network drive.
- <destination>: This is the path to the directory where you want the files to be copied to. Like the source, it can be either a local or a network path.
- [<file>[ …]]: This part is optional. Here, you can specify one or more specific files to copy. If you omit this, Robocopy will copy all files in the source directory.
- [<options>]: This is where Robocopy truly shines. You can add various options to customize the copying process, from file selection criteria to performance tweaks.
Practical Robocopy Examples – Basic Commands
Basic File Copy:
To copy all files from C:\source to D:\destination, the command is:
robocopy C:\source D:\destination
Copying a Specific File:
If you want to copy a specific file, say example.txt from C:\source to D:\destination, the command modifies slightly:
robocopy C:\source D:\destination example.txt
Using Options for Better Control:
If you want to copy a single file named socialmedia-ad.mp4 from c:\temp to a network location \\promotion\videos. The command is:
robocopy c:\temp "\\promotion\videos" socialmedia-ad.mp4 /mt /z
Here, /mt enables multi-threading, which allows Robocopy to copy multiple files simultaneously, significantly speeding up the process. /z enables restartable mode, meaning if the transfer is interrupted (like in case of a network issue), it can resume from where it left off, instead of starting over.
Mirror a Directory:
To mirror a directory, including all its files and subdirectories (while deleting anything in the destination that’s not in the source), use the /MIR switch:
robocopy C:\source D:\destination /MIR
Copying Files with Security Attributes:
If you need to copy files along with their NTFS permissions, the /COPYALL switch is your friend:
robocopy C:\source D:\destination /COPYALL
By mastering these basic commands and understanding how to apply different options, you can begin to leverage the full potential of Robocopy for your file management needs.
Exploring Robocopy Switches: Enhancing Your Copy Commands
Understanding robocopy switches allows users to tailor Robocopy to specific needs. For instance, the /mir switch is ideal for creating an exact replica of a source directory, including file deletions. In contrast, /mt can be used to accelerate the copying process, especially beneficial when dealing with large amounts of data or network transfers. Let’s explore key Robocopy switches and their functions
1. Basic Switches for Directory Management
- /s: Copies subdirectories, but not empty ones.
- /e: Copies subdirectories, including empty ones. This switch is useful for a complete directory replication.
2. Handling File Copy Interruptions and Permissions
- /z: Enables restartable mode, allowing Robocopy to copy files in restartable mode after an interruption, rather than restarting.
- /b: Activates backup mode, which helps in overriding file and folder permission settings, enabling the copying of protected files.
- /zb: Combines restartable and backup modes, trying restartable mode first and then switching to backup mode if necessary.
3. Advanced Copy Features
- /mt:<n>: Facilitates multi-threaded copies with a specified number of threads (1-128). This switch can significantly improve the speed of large file transfers.
- /j: Employs unbuffered I/O, recommended for large files to enhance performance.
- /efsraw: Copies all encrypted files in their raw form.
4. Attribute and Security Options
- /copy:<copyflags>: Specifies the file properties to copy, such as Data, Attributes, Time stamps, NTFS ACL, Owner info, and Auditing info.
- /sec: Copies files with security settings.
- /copyall: Copies all file information, including security settings, data, attributes, and more.
5. Specialized Copy Behaviors
- /mir: Mirrors a directory tree, an amalgamation of /e and /purge.
- /mov: Moves files, deleting them from the source after copying.
- /a+:[RASHCNET]: Adds specified attributes to copied files.
- /create: Generates a directory tree and zero-length files only, without copying the files themselves.
6. Monitoring and Run-Time Options
- /mon:<n>: Monitors the source and runs again when more than ‘n’ changes are detected.
- /mot:<m>: Monitors the source and reruns the command in ‘m’ minutes if changes are detected.
- /rh:hhmm-hhmm: Specifies run times to control when new copies can be initiated.
7. Managing log files
Robocopy provides a comprehensive set of switches for managing log files, which are essential for tracking the progress and details of file copy operations.
- /LOG:file: This switch directs Robocopy to log the output to a specified file. For example, /LOG:C:\logs\copy_log.txt creates and writes the log to copy_log.txt in the C:\logs directory.
- /LOG+:file: Similar to /LOG, but instead of overwriting, it appends the existing log file, preserving previous logs.
- /V: Enables verbose output, providing detailed information about each file copied, including skipped files. This is useful for a thorough analysis of the copy operation.
- /NP: Suppresses the progress display. This is often used in conjunction with logging switches to keep the log files clean and easier to read, especially when dealing with a large number of files.
- /TS: Includes source file timestamps in the log.
- /FP: Includes the full path of the files in the log, not just the filenames.
The robustness of Robocopy lies in these switches, each serving a unique purpose to optimize and control the file copying process. By mastering these switches, one can leverage Robocopy for a wide array of file management tasks, ranging from simple backups to complex server migrations
Practical Examples of Robocopy to Copy Files and Folders in Action
Robocopy, with its versatility, caters to a range of real-time file management scenarios. From simple file transfers to complex file server migrations, let’s explore detailed examples of how Robocopy can be applied effectively:
1. Basic File Copying
Scenario: Copying all files from C:\source to D:\destination.
robocopy C:\source D:\destination
Explanation: This straightforward command replicates all files from the source to the destination directory, making it ideal for routine backup tasks.
2. Selective File Copying
Scenario: Copying only PDF files from C:\documents to D:\backup.
robocopy C:\documents D:\backup *.pdf
Explanation: By specifying *.pdf, Robocopy focuses on transferring only PDF files, showcasing its ability to handle selective file types.
3. Mirroring Directories
Scenario: Creating an exact mirror of the source directory in the destination, including file deletions.
robocopy C:\source D:\mirror /MIR
Explanation: The /MIR switch is a powerful option that mirrors the entire directory structure, ensuring the destination is an exact replica of the source.
4. Transfer Files Over the Network
Scenario: Transferring files over a network with increased speed and efficiency.
robocopy \\Server\Share D:\backup /MT:32
Explanation: Using the /MT switch with a value like 32 creates multiple threads, significantly speeding up network transfers.
5. Copying Files with Security Attributes
Scenario: Copying files while maintaining their security settings and attributes.
robocopy C:\source D:\destination /COPYALL
Explanation: The /COPYALL switch ensures that all security attributes, including permissions and owner information, are retained during the copy process.
6. Handling Large File Transfers with Restartability
Scenario: Copying large files with the ability to resume if interrupted.
robocopy C:\source D:\destination /Z
Explanation: The /Z switch enables Robocopy to resume the file transfer from the point of interruption, crucial for managing large file transfers.
7. Excluding Specific Files or Folders
Scenario: Copying a directory while excluding certain files or folders such as log files and temp folders.
robocopy C:\source D:\destination /XD "C:\source\exclude" /XF "C:\source\filetoexclude.txt"
Explanation: The /XD and /XF switches are used to exclude specific directories and files respectively, offering precise control over what gets copied.
8. Copying Files in Backup Mode
Scenario: Copying files that are otherwise inaccessible due to permission restrictions.
robocopy C:\source D:\destination /B
Explanation: The /B switch enables Robocopy to operate in backup mode, allowing it to bypass file and folder permissions. This is particularly useful when copying files from areas where the user might not have regular access permissions, such as certain system files or directories.
9. Synchronizing Directory Trees
Scenario: Keeping a backup directory in sync with the source, including deleting files that no longer exist in the source.
robocopy C:\source D:\sync /MIR /MT:16
Explanation: This combines the mirroring capability (/MIR) with multi-threading (/MT:16) to efficiently keep the backup (D:\sync) in sync with the source, ensuring any deletions or changes are mirrored.
10. Incremental Backup of Changed Files
Scenario: Performing an incremental backup, copying only files that have changed since the last backup.
robocopy C:\source D:\incremental /M /COPY:DAT /DCOPY:T
Explanation: The /M switch ensures that only files with the archive attribute set are copied, which typically indicates files that have changed. /COPY:DAT ensures data, attributes, and timestamps are copied, while /DCOPY:T preserves directory timestamps.
11. Restricting Copy Times
Scenario: Copying files only during off-peak hours.
robocopy C:\source D:\destination /RH:2200-0600 /PF
Explanation: The /RH:2200-0600 switch sets Robocopy to run only during specified hours (in this case, between 10 PM and 6 AM). The /PF switch ensures that the file copying respects these run hours on a per-file basis, not just per-pass.
12. Monitoring and Auto-Copying upon Changes
Scenario: Automatically copying files as soon as changes are detected in the source directory.
robocopy C:\source D:\monitor /MON:1 /MOT:5
Explanation: The /MON:1 switch instructs Robocopy to monitor the source and execute the copy if more than one change is detected. /MOT:5 triggers a re-check every 5 minutes, providing almost real-time synchronization.
13. Copying Files over a Slow Network
Scenario: Efficiently copying files across a slow or unreliable network connection.
robocopy C:\source \\remote\destination /Z /W:5 /IPG:100
Explanation: /Z enables restartable mode for resilience against network interruptions, /W:5 sets the wait time between retries to 5 seconds, and /IPG:100 introduces a gap between packets to ease network congestion.
Each of these scenarios showcases the flexibility and power of Robocopy in handling a wide variety of file management tasks, making it an invaluable tool in any environment where data integrity, efficiency, and customizability are key.
Conclusion: Harness the Power of Robocopy for Your File Management Needs
In conclusion, the ability to use Robocopy to copy files and directories across a multitude of scenarios is what sets it apart as a quintessential tool in the Windows environment. Whether it’s performing incremental backups, synchronizing directories, or managing large-scale data transfers, Robocopy offers a robust, versatile, and efficient approach to file management. Explore additional articles on Windows Devices to stay informed and maintain a competitive edge in evolving technology.


